
Progress photos
Weight loss progress pictures: what to shoot and how often
Which angles to shoot, how often to take weight loss progress pictures, and how to keep them honest and comparable over months.
By Ahmet KütükUpdated 5 min read
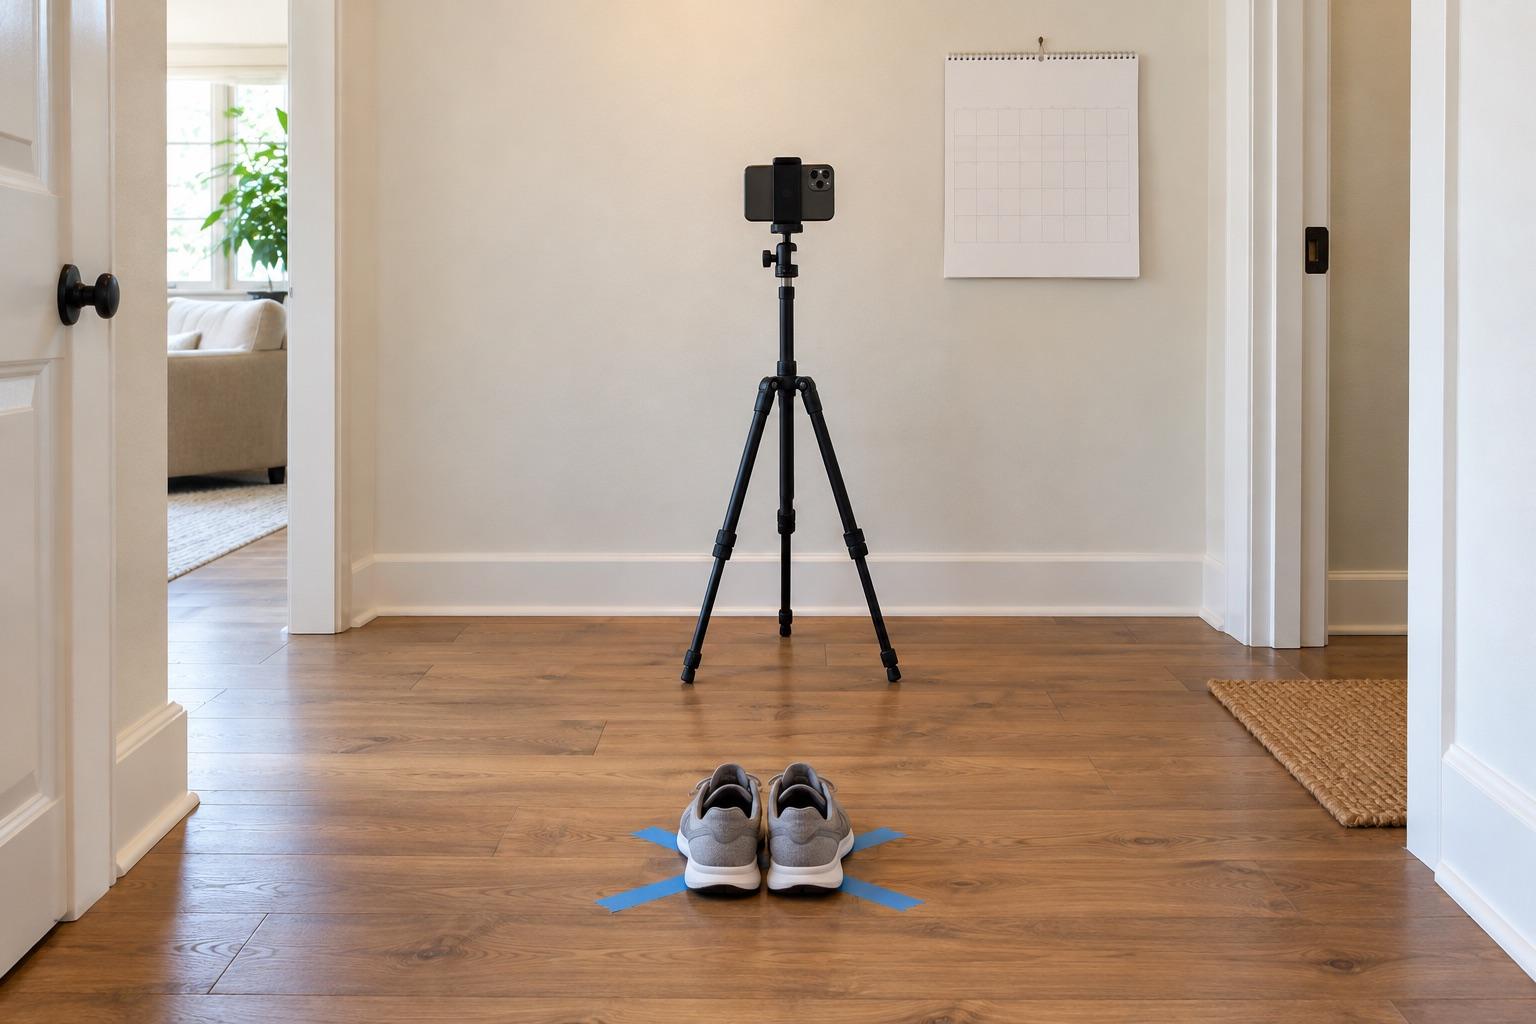
For weight loss progress pictures, shoot front, side and back photos every two to four weeks, in the same spot, light, clothing and pose, at the same time of day. Compare photos at least a month apart, and keep them alongside other measures you track, because photos show shape, not numbers.
Weight loss progress pictures are worth taking even when the scale feels slow: they often show changes in shape and posture that numbers don't. But they only help if they're consistent. Two photos taken from different distances can make it look like nothing changed, or like more changed than really did.
What to shoot
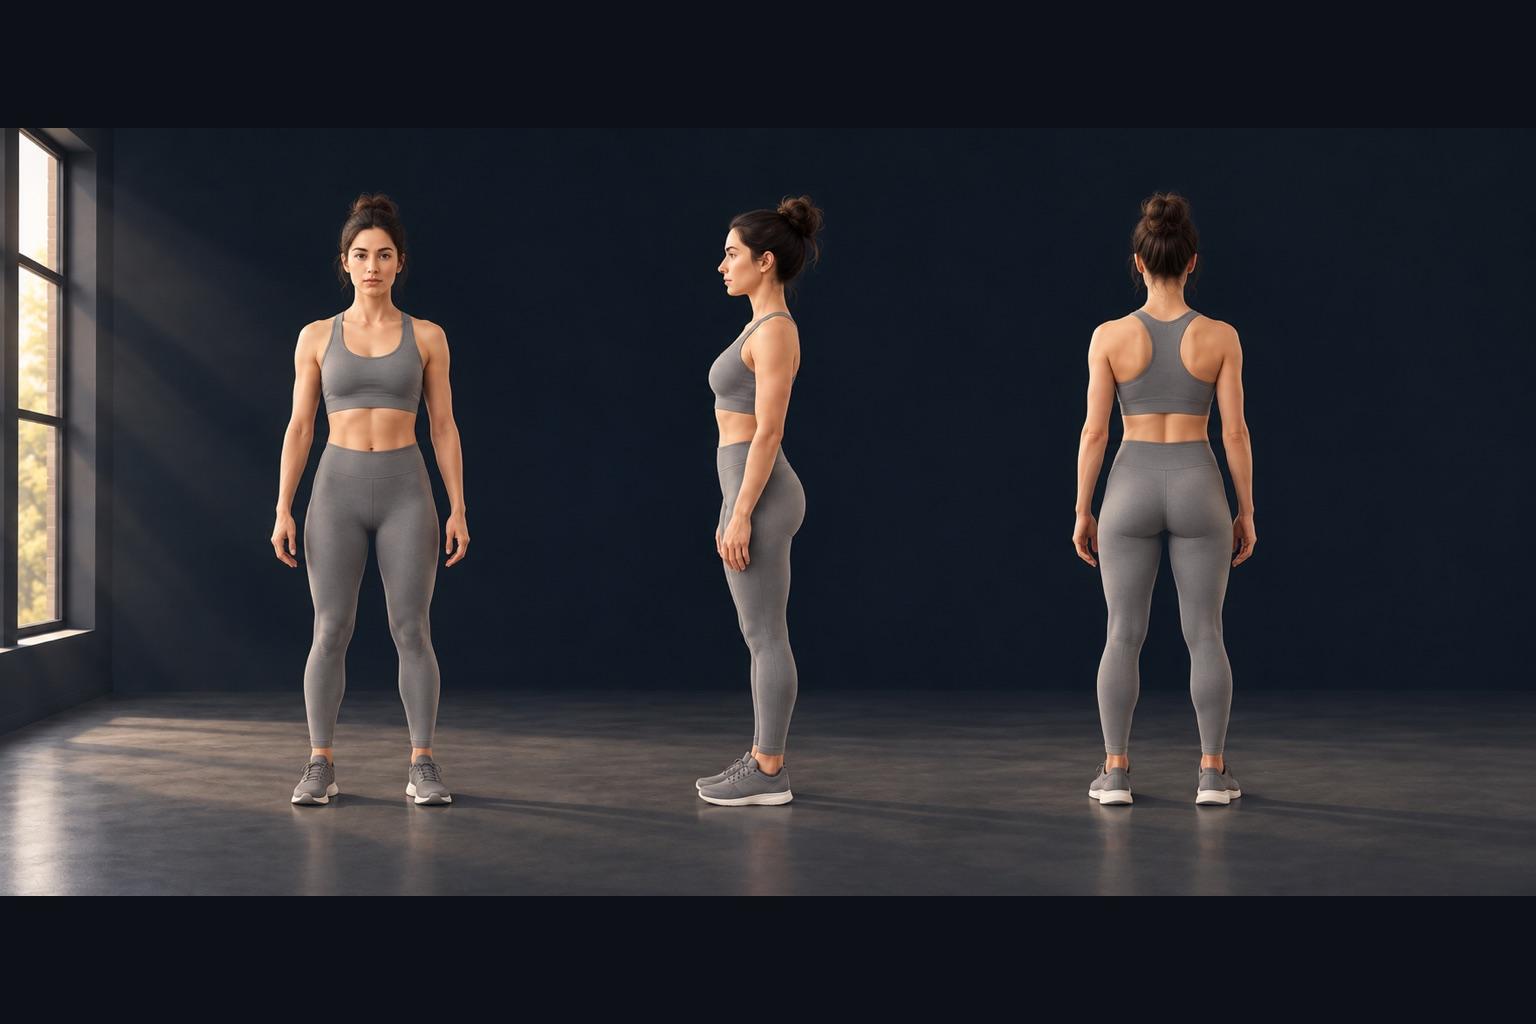
Take the same set every session:
- Front: feet hip-width apart, arms slightly away from the body, relaxed.
- Side: the same side every time, arms relaxed or crossed in front of the chest.
- Back: same stance as the front.
Optional: a close-up of an area you're watching (waist, arms, face) from a fixed distance.
Use one neutral pose. Don't suck in on one photo and relax on the next; that difference is bigger than weeks of change.
How often
| Interval | Good for | Drawback |
|---|---|---|
| Weekly | Habit-building, motivation | Changes are often too small to see |
| Every 2–4 weeks | Seeing real change | Requires a consistent routine |
| Monthly | Long projects | Easy to forget; set a reminder |
Every two to four weeks is a good default. Compare the newest photo with the first one, and with the one from a month ago, rather than with last week's.
Keep the setup identical
The full setup is in how to take progress photos. The short version:
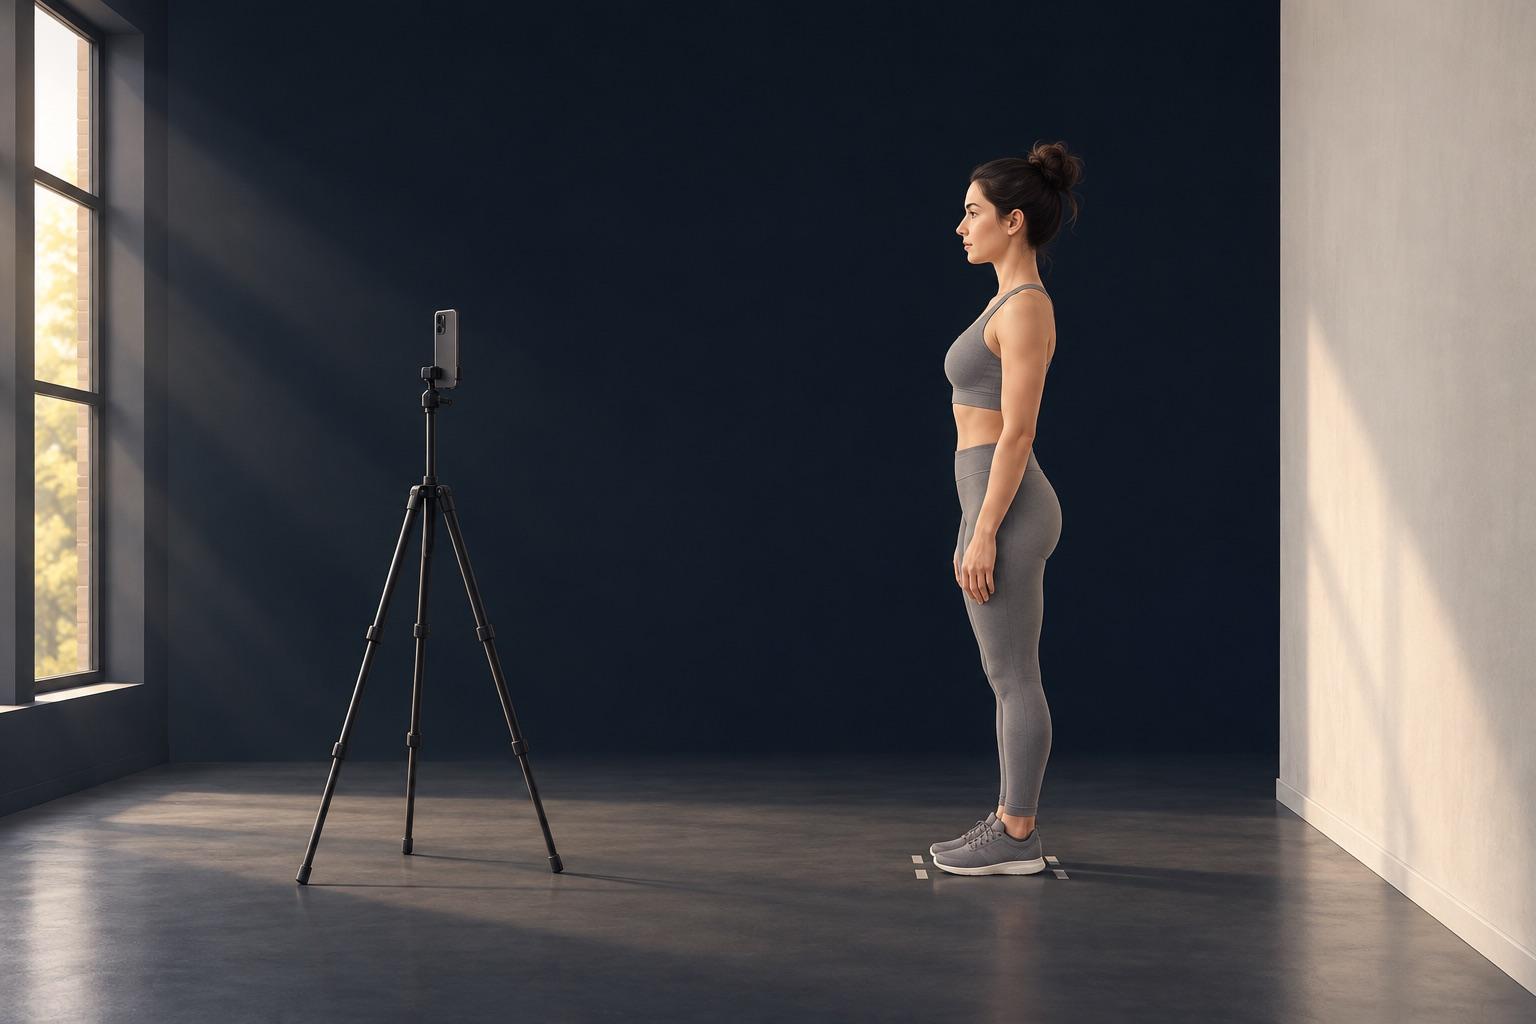
- Same wall, same window light, same time of day.
- Phone on a stand at chest height, vertical, straight.
- Same distance: you fit head to toe with a little space.
- Same fitted clothing.
- Timer or hands-free capture instead of a mirror selfie.
The hardest part is distance and height across weeks. A ghost overlay solves it by showing your last photo on the camera; you step into your own outline before each shot.
Take your reference shot today.
Free on iPhone and Android. No account needed.
Making the comparison honest
- No filters, no “beauty” mode, and the same brightness for both photos.
- Same lens. Wide (0.5×) lenses stretch the edges of the frame.
- Same state: for example, in the morning before eating and drinking. Water and food change how you look within hours.
- Same pose and breathing. Breathe out normally.
Sharing your progress
For the feed, a 4:5 side-by-side with dates (“Day 1 / Day 120”) is clear and believable. For Stories or Reels, a 9:16 slideshow through a few milestones shows how the change built up. More on choosing a format: side by side, slider or GIF.
Photos are one measure among several
Progress pictures show changes in shape and posture. They don't measure weight, body fat or health. Use them alongside the other measures you track, and talk to a doctor or registered dietitian about goals and methods. MatchFrame is a camera and comparison tool; it doesn't give medical or fitness advice.